"A Step-by-Step Guide to Getting Started with Canva: Creating an Account, Free vs. Pro, and Launching a Project"#CanvaTutorial #GraphicDesign
Day 11- AR3 "Learn How to Create Stunning Designs with Canva - Free and Pro Accounts Compared"

I'd be happy to help you get started with Canva! In this tutorial, I will guide you through the process of creating a Canva account, explain the differences between the free and Pro accounts, and give you a detailed overview of the Canva home screen. We'll also launch a project so you can get hands-on experience using this powerful design tool.
Step 1: Creating a Canva account
To get started with Canva, you'll need to create an account. Here's how:
Open your web browser and go to Canva's website https://www.canva.com/
Click on the "Sign up" button in the top right corner of the screen.
You can sign up with your Google or Facebook account, or you can create a new account with your email address. If you choose to sign up with your email address, enter your name, email address, and password, then click on the "Sign up" button.
Canva will send you a confirmation email. Check your email inbox and click on the confirmation link to activate your account.
Congratulations! You now have a Canva account.
Step 2: Free vs. Pro Canva
Canva offers both a free and a Pro account. Here are the differences between the two:
Free account
Access to a wide range of design templates, photos, graphics, and fonts
1GB of storage for your designs
Ability to create designs and share them with others
Canva watermark on your designs
Pro account
Unlimited access to all design templates, photos, graphics, and fonts
Unlimited storage for your designs
Ability to create designs and share them with others
No Canva watermark on your designs
Ability to resize designs
Ability to create folders to organize your designs
Access to premium support
As you can see, the Pro account offers a lot of additional features that can be very useful for serious designers. However, the free account still provides a lot of functionality and is a great way to get started with Canva.
Step 3: The Canva home screen
When you log into Canva, you'll see the home screen. This is where you can access all of the tools and features that Canva offers. Let's take a closer look:
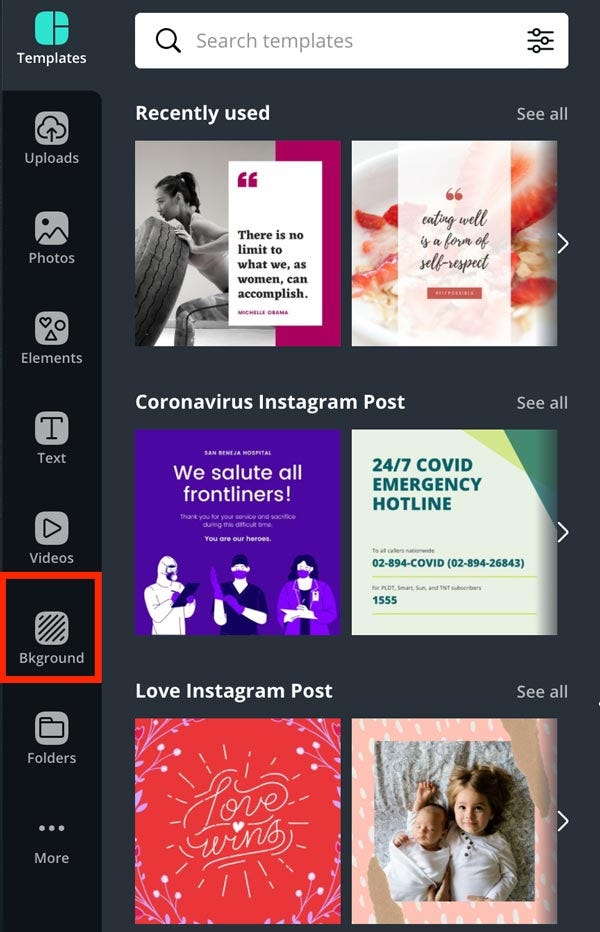
On the left-hand side of the screen, you'll see the navigation menu. This is where you can access your designs, folders, templates, and more.
In the center of the screen, you'll see a list of your most recent designs.
At the top of the screen, you'll see the main toolbar. This is where you can access the most commonly used tools, such as creating a new design, searching for templates, and accessing your account settings.
On the right-hand side of the screen, you'll see the "Canva Pro" button, as well as a search bar and a button to access your notifications.
Step 4: Launching a project
Now that you're familiar with the Canva home screen, let's launch a project.
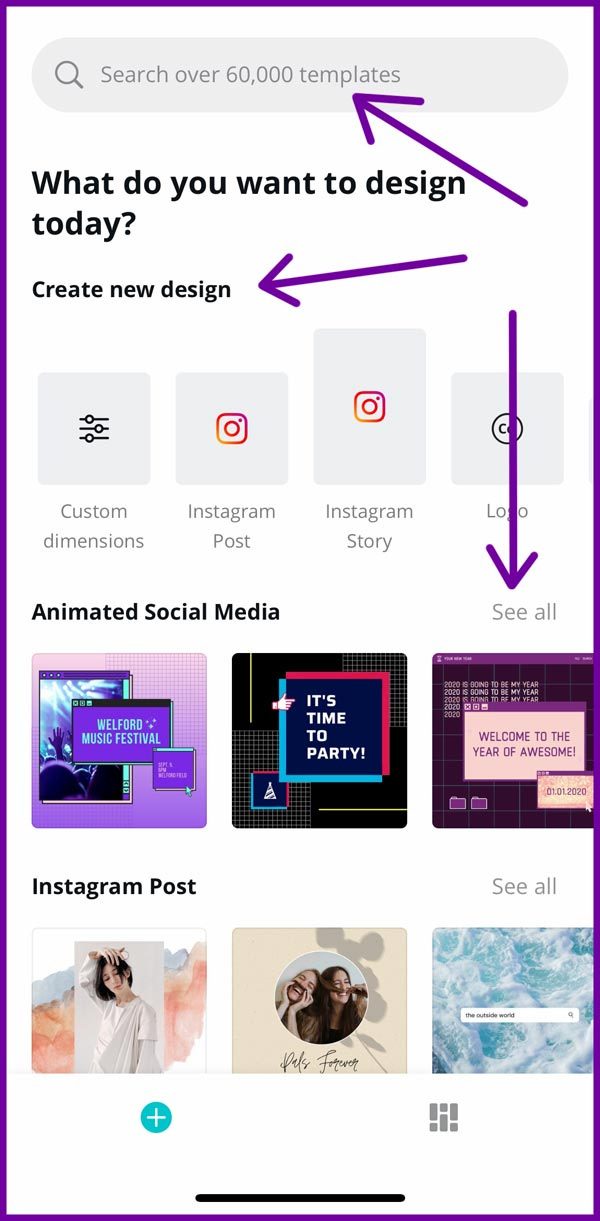
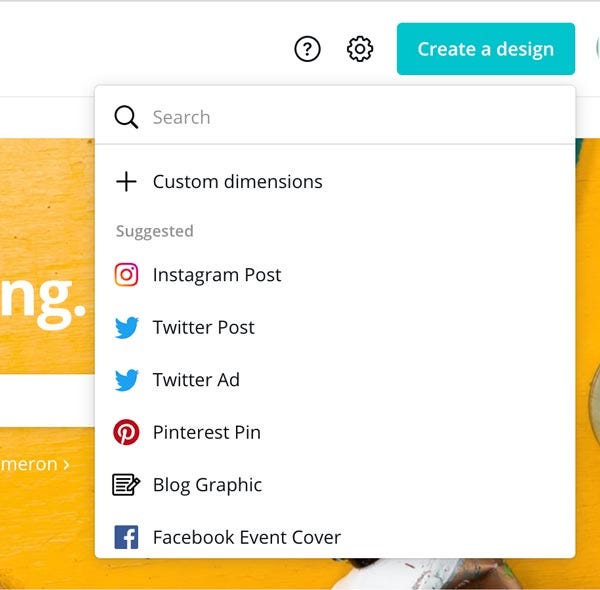
Click on the "Create a design" button in the main toolbar at the top of the screen.
You'll be presented with a list of design templates. Choose a category that's relevant to your project (e.g., "Social Media" or "Marketing Materials").
Choose a template that you like and click on it to open it.
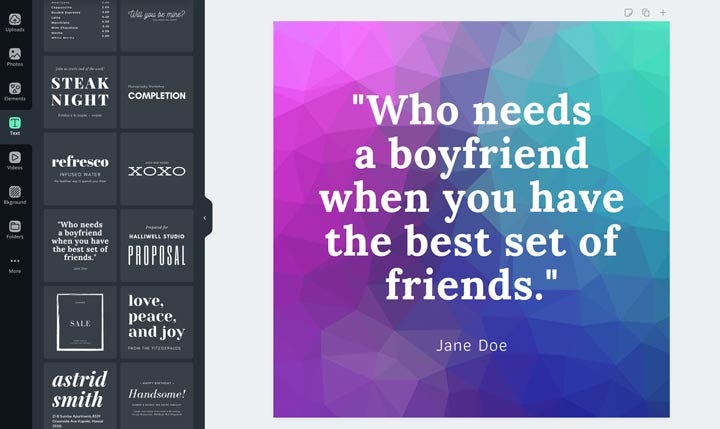
You'll be taken to the Canva editor, where you can customize the design to your liking. On the left-hand side of the screen, you'll see a menu of design elements that you can add to your design, such as text, images, and shapes. On the right-hand side of the screen, you'll see options to edit the design, such as changing the color scheme, adding filters, and adjusting the size and position of design elements.
To add text to your design, click on the "Text" option in the left-hand menu, and select the type of text you want to add (e.g., heading, subheading, or body text). You can then click on the text box in the design and start typing your text. You can change the font, size, color, and alignment of the text using the options on the right-hand side of the screen.
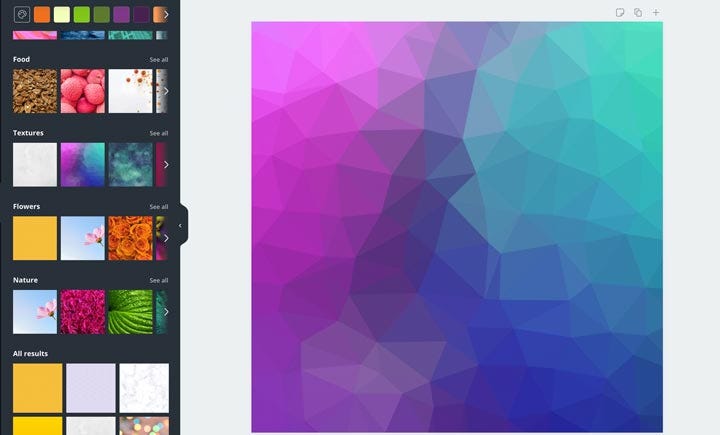
To add images to your design, click on the "Photos" option in the left-hand menu, and search for an image that's relevant to your project. Once you've found an image you like, drag and drop it into your design. You can resize and reposition the image using the options on the right-hand side of the screen.
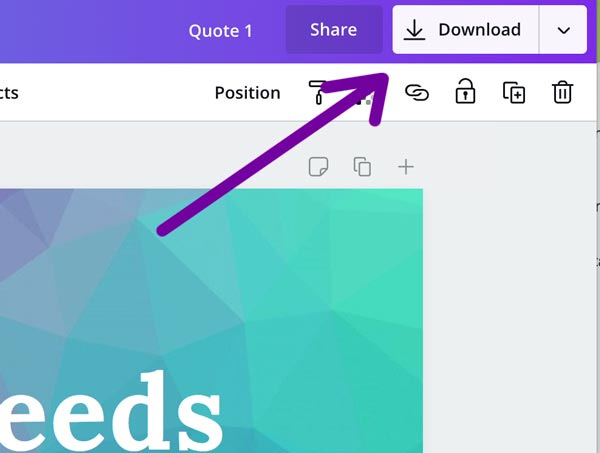
Once you're happy with your design, click on the "Download" button in the top right corner of the screen. You can then choose the file type you want to download your design as (e.g., JPEG, PNG, or PDF) and the size you want it to be.
Congratulations! You've successfully launched and customized a project in Canva.
#CanvaTutorial #GraphicDesign #DesignTools #FreeVsPro #CanvaFeatures #CreatingDesigns #CanvaAccount #CanvaPro #CanvaHomeScreen #LaunchingAProject #SEO #Tutorial #OpenAI